Working on historic cars is very different from working on modern vehicles. There are no diagnostic computers, no sensors to plug into, and often no replacement parts sitting on a shelf. Instead, restoring a classic car is about understanding mechanical systems, solving problems creatively, and sometimes even building your own tools.
That was exactly the case while continuing work on the Talbot’s brake system.
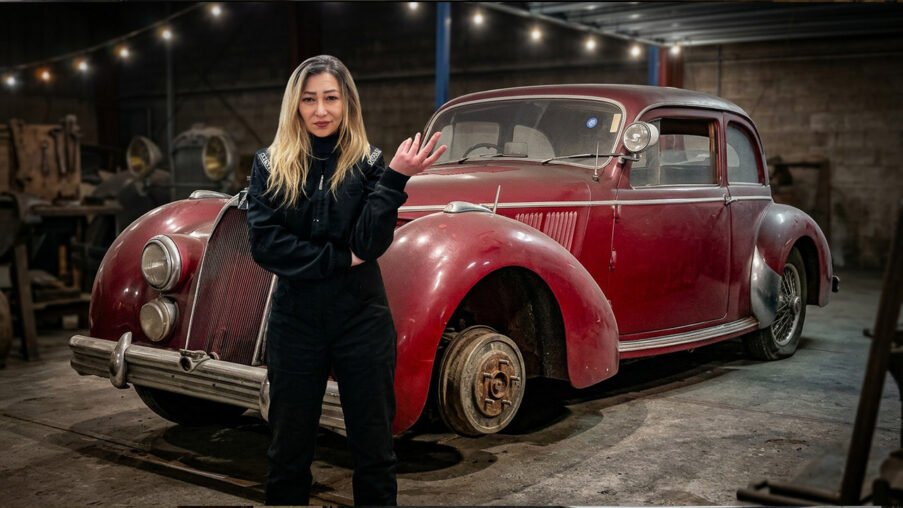
We had already managed to start the car, which is always an exciting moment when working on a historic machine. But starting an engine is only the first step. If the car is going to return to the road, it also needs to stop properly — and that meant diving deep into the braking system.
Restoring the Talbot’s Brake System
The first step was rebuilding the brake cylinders after finally receiving new seals. Like many components on a car of this age, the parts showed years of wear and contamination, so everything had to be cleaned carefully before reassembly.
Brake drums were removed, pins taken out, and the entire assembly inspected piece by piece. Some parts came apart easily, while others required a bit more persuasion and the help of larger pullers to remove stubborn components that hadn’t moved in decades
Working on historic brakes is often slow work, but it’s essential. Every component must operate correctly for the system to work safely.
Making Special Tools for a Classic Car
One challenge when working on older cars is that the original service tools often no longer exist.
To remove the Talbot’s hubcaps, we had to fabricate our own tool using two 24 mm nuts brazed together. This allowed us to grip the hub properly and remove it without damaging the surrounding components.
Fabricating tools like this is often part of the restoration process when working with rare historic cars.
Unexpected Problems Along the Way
As with any restoration project, new problems appeared as soon as we started taking things apart.
A closer inspection revealed that a bumper bracket had been bent, most likely from damage that occurred many years ago. While trying to unbend it, it breaks. Fortunately, it’s a repairable part, but it’s another reminder that historic cars often carry the marks of their long lives.
While examining the hubs, we also discovered that one of the wheel bearings had overheated in the past. The discoloration suggested it had been spinning inside its housing, meaning the bearing will need to be replaced before the car can be safely driven again.
Finding these issues early is exactly why careful inspection during restoration is so important.
Slowly Bringing the Talbot Back Together
With parts cleaned and repaired, we began reassembling the braking system.
New bearings were prepared, brackets cleaned, and components aligned before installation. To remove some of the brake cylinders, we used a clever trick: pumping grease into the housing, with a homemade tool, to push the cylinders out safely without damaging the surrounding parts.
Meanwhile, work continued across the car. While I focused on the rear brakes, Colin worked on the front, allowing us to move forward more efficiently.
One Step Closer to the Road
There is still plenty of work ahead before the Talbot returns to the road. The next step will be bleeding the brakes, installing new hoses, and ensuring the hydraulic system works exactly as it should.
But with every hour spent in the workshop, this historic car moves one step closer to driving again.
Because classic cars aren’t meant to sit still — they are meant to be driven.